This article follows the EIP-4361 Sign-In with Ethereum rules
SIWE (Sign-In with Ethereum) is a way to verify user identity on Ethereum, similar to initiating a transaction with a wallet, indicating that the user has control over the wallet.
The current authentication method is already very simple, just signing the information in the wallet plugin, and common wallet plugins already support it.
The signing scenario considered in this article is on Ethereum, and others like Solana and Sui are not within the scope of this article.
Does Your Project Need SIWE
SIWE is to solve the problem of wallet address identity verification, so if you have the following needs, you can consider using SWIE:
- Your Dapp has its own user system;
- The information to be queried is related to user privacy;
But if your Dapp is a query-based function like Etherscan, SIWE is not necessary.
You may have a question, after connecting to the wallet on the Dapp, doesn't that mean I have ownership of the wallet?
Yes and no. For the front-end, after the wallet connection operation, you have indeed indicated your identity, but for some interfaces that require back-end support, you cannot prove your identity. If you only pass your address in the interface, anyone can "borrow" your identity, after all, the address is public information.
The Principle and Process of SIWE
The SIWE process can be summarized in three steps: connect wallet -- sign -- get identity identifier. We will elaborate on these three steps.
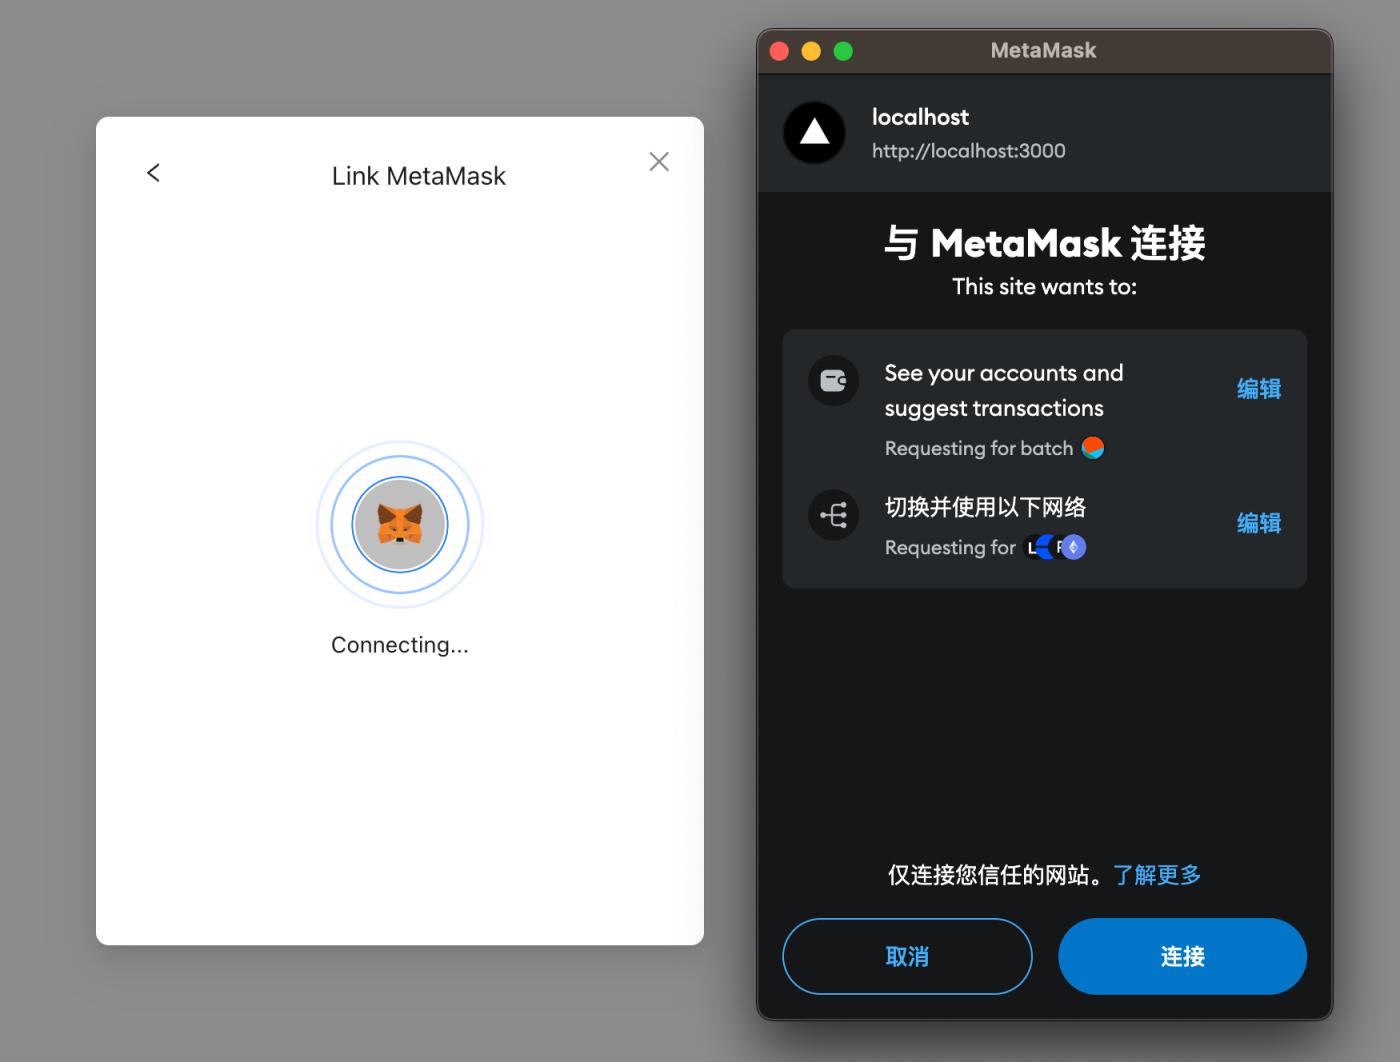

Connect Wallet
Connecting a wallet is a common WEB3 operation, and you can connect your wallet to your Dapp through a wallet plugin.
Sign
In SIWE, the signing step includes obtaining the Nonce value, wallet signing, and back-end signature verification.
The Nonce value should be referenced from the design of the ETH transaction Nonce value, and it also needs to call the back-end interface to obtain it. The back-end will generate a random Nonce value after receiving the request and associate it with the current address to prepare for the subsequent signing.
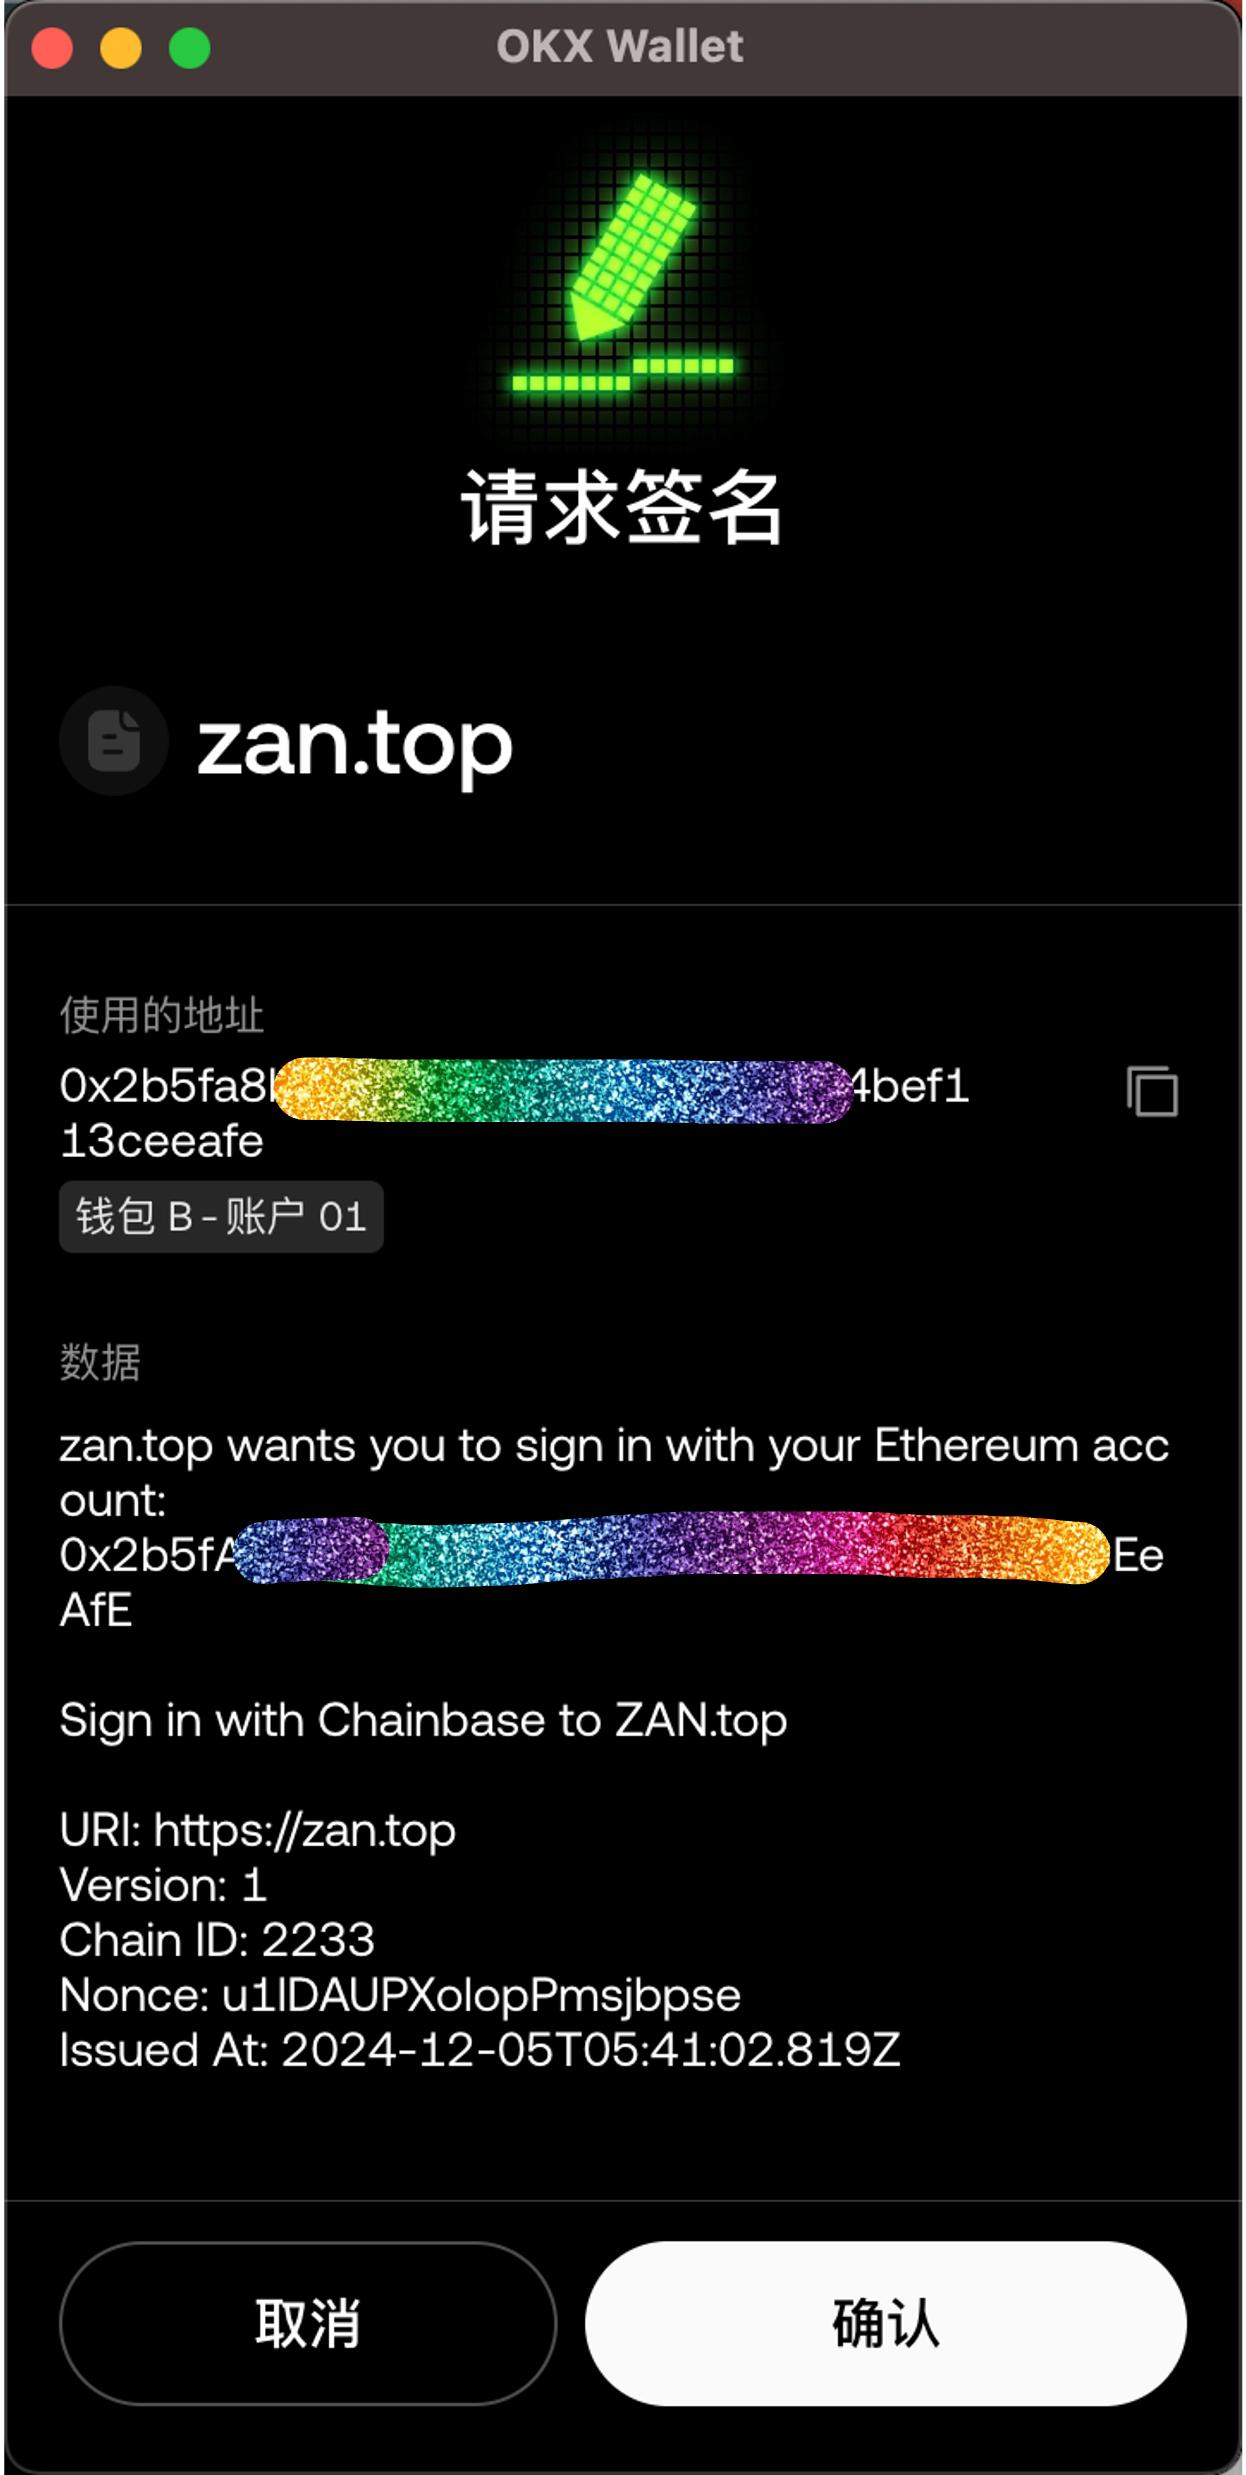
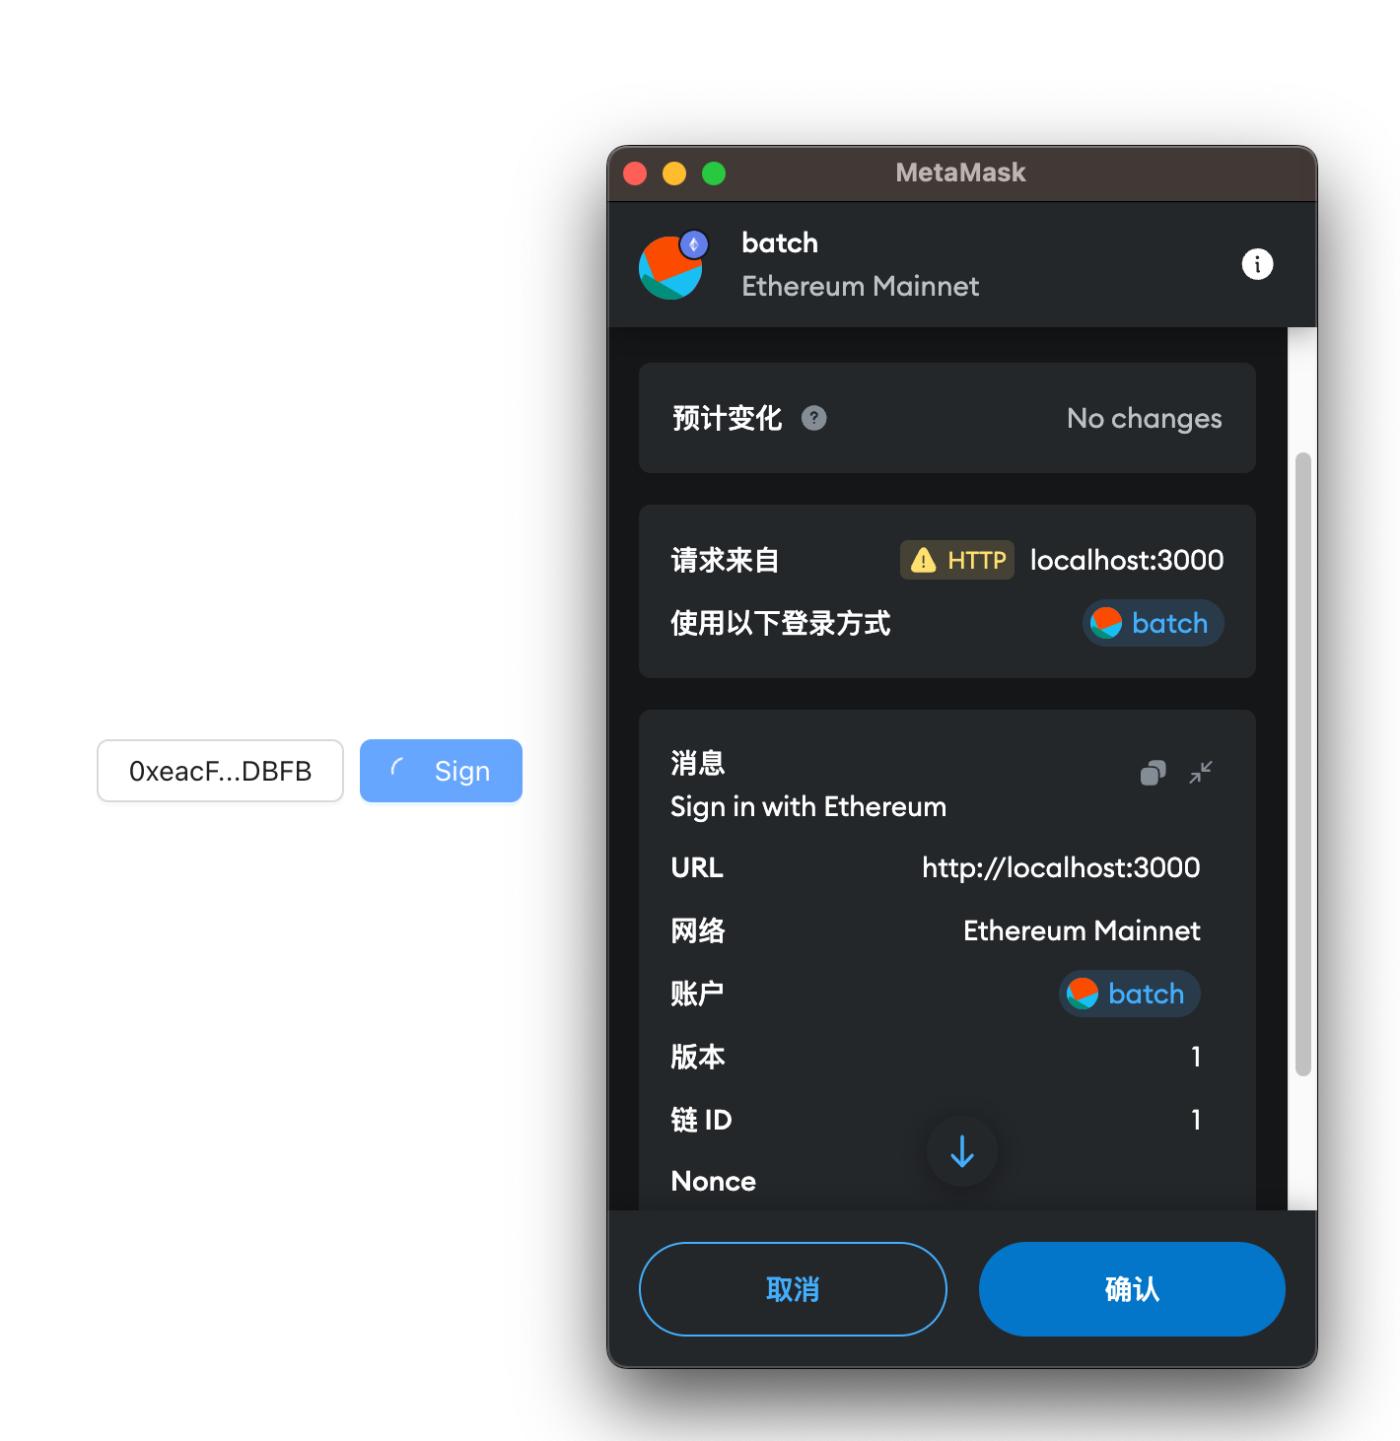
After the front-end obtains the Nonce value, it needs to construct the signing content, SIWE can design the signing content to include the obtained Nonce value, domain name, chain ID, and the content to be signed. We generally use the signing method provided by the wallet to sign the content.
After the signing is completed, the final step is to send the signature to the back-end.
Obtain Identity Identifier
After the back-end verifies and passes the signature, it will return the corresponding user identity identifier, which can be a JWT. The front-end can then send the corresponding address and identity identifier to the back-end in subsequent requests to prove the ownership of the wallet.
Practice
There are already many components and libraries that support developers to quickly access wallet connection and SIWE, we can actually operate, the goal of the practice is to make your Dapp able to return JWT for user identity verification.
Note that this DEMO is only for introducing the basic flow of SIWE, and there may be security issues when used in a production environment.
Preparation
This article uses the nextjs way to develop the application, so developers need to prepare the nodejs environment. One of the advantages of using nextjs is that we can directly develop a full-stack project without splitting it into two separate front-end and back-end projects.
Install Dependencies
First, we install nextjs. In the terminal of your project directory, enter:
npx create-next-app@14Follow the prompts to install nextjs, and you can see the following content:
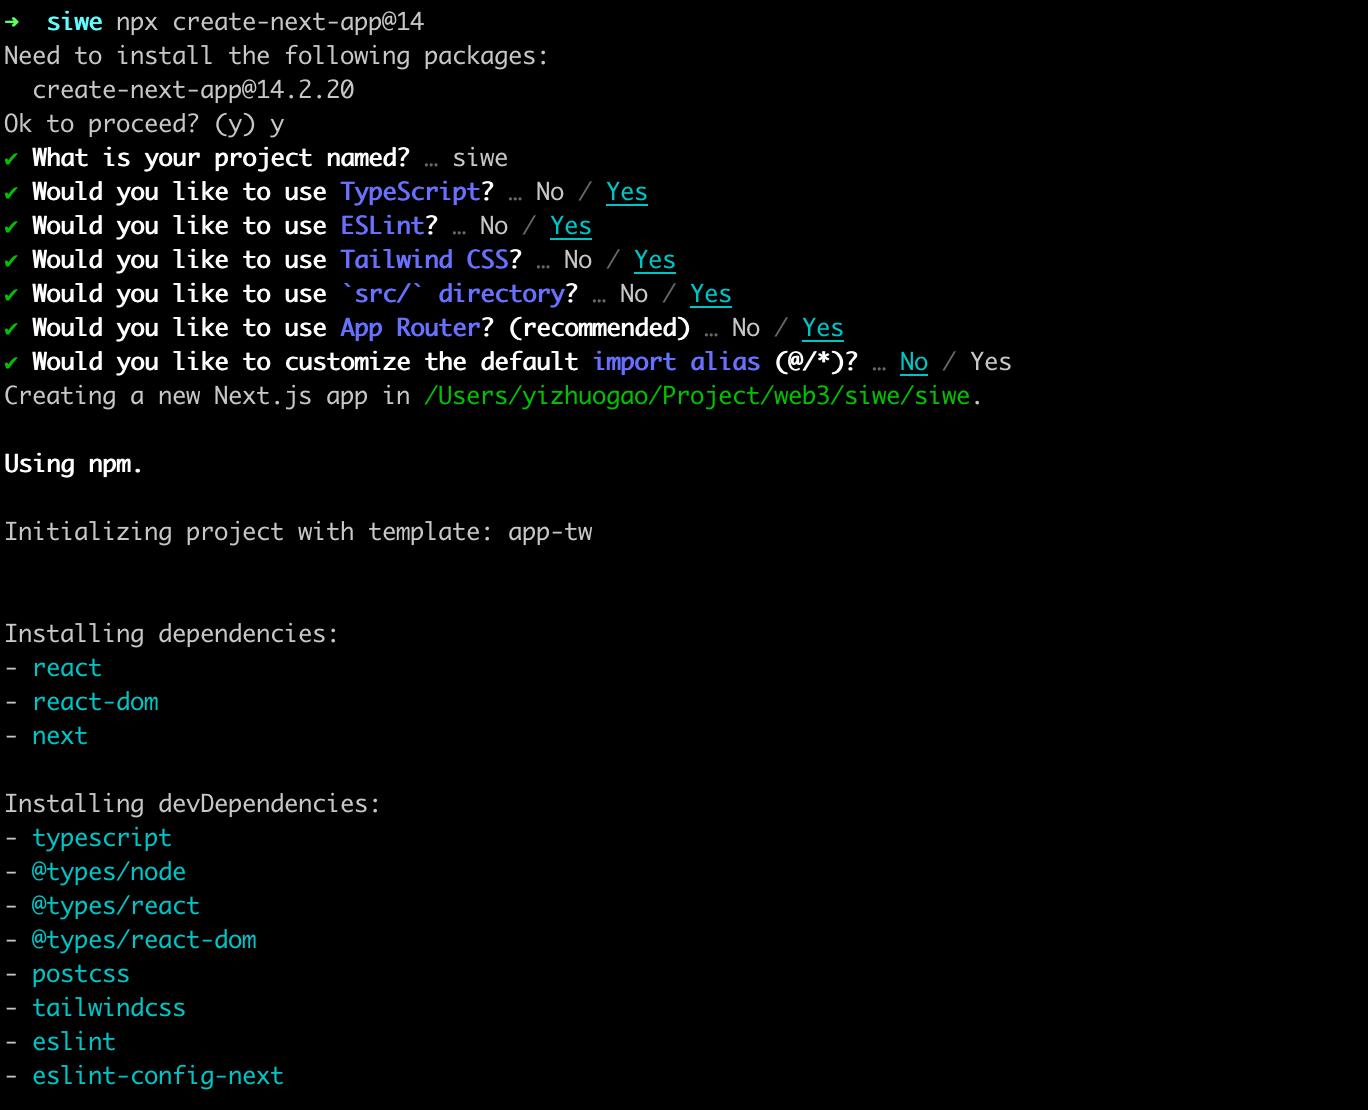
After entering the project directory, you can see that the nextjs scaffolding has already done a lot of work for us. We can run the project in the project directory:
npm run devThen, according to the terminal prompt, go to localhost: 3000 and you can see that a basic nextjs project has already started.

Install SIWE-Related Dependencies
According to the previous introduction, SIWE requires a login system, so we need to connect our project to the wallet. Here we use Ant Design Web3 (https://web3.ant.design/), because:
- It's completely free and is still actively maintained.
- As a WEB3 component library, its usage experience is similar to a regular component library, without additional cognitive burden.
- It also supports SIWE.
We need to enter the following in the terminal:
npm install antd @ant-design/web3 @ant-design/web3-wagmi wagmi viem @tanstack/react-query --save Introduce Wagmi
Ant Design Web3's SIWE is dependent on the Wagmi library to implement it, so we need to introduce the relevant components in the project. We first import the WagmiProvider in the layout.tsx, so that the entire project can use the Hooks provided by Wagmi.
We first define the configuration of the WagmiProvider, the code is as follows:
"use client";import { getNonce, verifyMessage } from "@/app/api";import {Mainnet,MetaMask,OkxWallet,TokenPocket,WagmiWeb3ConfigProvider,WalletConnect,} from "@ant-design/web3-wagmi";import { QueryClient } from "@tanstack/react-query";import React from "react";import { createSiweMessage } from "viem/siwe";import { http } from "wagmi";import { JwtProvider } from "./JwtProvider";const YOUR_WALLET_CONNECT_PROJECT_ID = "c07c0051c2055890eade3556618e38a6";const queryClient = new QueryClient();const WagmiProvider: React.FC = ({ children }) => {const [jwt, setJwt] = React.useState(null);return ((await getNonce(address)).data,createMessage: (props) => {return createSiweMessage({ ...props, statement: "Ant Design Web3" });},verifyMessage: async (message, signature) => {const jwt = (await verifyMessage(message, signature)).data;setJwt(jwt);return !!jwt;},}}chains={[Mainnet]}transports={{[Mainnet.id]: http(),}}walletConnect={{projectId: YOUR_WALLET_CONNECT_PROJECT_ID,}}wallets={[MetaMask(),WalletConnect(),TokenPocket({group: "Popular",}),OkxWallet(),]}queryClient={queryClient}>{children});};export default WagmiProvider;We use the Provider provided by Ant Design Web3, and define some interfaces for SIWE, the specific implementation of the interfaces will be introduced later.
Then we introduce the button to connect the wallet, so that we can add an entry to connect it in the front-end.
At this point, the integration of SIWE is already very simple.
Next, we need to define a connection button to implement wallet connection and signing, the code is as follows:
"use client";import type { Account } from "@ant-design/web3";import { ConnectButton, Connector } from "@ant-design/web3";import { Flex, Space } from "antd";import React from "react";import { JwtProvider } from "./JwtProvider";export default function App() {const jwt = React.useContext(JwtProvider);const renderSignBtnText = (defaultDom: React.ReactNode,account?: Account) => {const { address } = account ?? {};const ellipsisAddress = address? `${address.slice(0, 6)}...${address.slice(-6)}`: "";return `Sign in as ${ellipsisAddress}`;};return (<>{jwt}
);}In this way, we have implemented a simple SIWE login framework.
Interface Implementation
According to the introduction above, SIWE requires some interfaces to help the back-end verify the user's identity. Now let's implement them simply.
Nonce
Nonce is to make the signature content generated by the wallet change each time, which improves the reliability of the signature. The generation of this Nonce needs to be associated with the user's passed address to improve the accuracy of the verification.
The implementation of Nonce is very straightforward, first we generate a random string (generated by letters and numbers), and then establish the association between this nonce and the address, the code is as follows:
import { randomBytes } from "crypto";import { addressMap } from "../cache";export async function GET(request: Request) {const { searchParams } = new URL(request.url);const address = searchParams.get("address");if (!address) {throw new Error("Invalid address");}const nonce = randomBytes(16).toString("hex");addressMap.set(address, nonce);return Response.json({data: nonce,});}signMessage
The purpose of signMessage is to sign the content, and this functionality is generally completed through the wallet plugin. We usually don't need to do any configuration, just specify the method. In this Demo, we are using the signing method of Wagmi.
verifyMessage
After the user signs the content, the signed content and the signature need to be sent to the backend for verification. The backend parses the content from the signature and compares it, and if it is consistent, the verification is successful.
In addition, some security checks need to be performed on the signed content, such as whether the Nonce value in the signed content is consistent with the one we issued to the user. After the verification is successful, the corresponding user JWT needs to be returned for subsequent permission verification. The sample code is as follows:
import { createPublicClient, http } from "viem";import { mainnet } from "viem/chains";import jwt from "jsonwebtoken";import { parseSiweMessage } from "viem/siwe";import { addressMap } from "../cache";const JWT_SECRET = "your-secret-key"; // Please use a more secure key and add corresponding expiration checks.const publicClient = createPublicClient({chain: mainnet,transport: http(),});export async function POST(request: Request) {const { signature, message } = await request.json();const { nonce, address = "0x" } = parseSiweMessage(message);console.log("nonce", nonce, address, addressMap);// Verify if the nonce value is consistentif (!nonce || nonce !== addressMap.get(address)) {throw new Error("Invalid nonce");}// Verify the signed content const valid = await publicClient.verifySiweMessage({message,address,signature,});if (!valid) {throw new Error("Invalid signature");}// Generate jwt and returnconst token = jwt.sign({ address }, JWT_SECRET, { expiresIn: "1h" });return Response.json({data: token,});}At this point, a basic SIWE login Dapp has been developed.
Some optimization items
Now, when we perform SIWE login, if we use the default RPC node, the verification process will take nearly 30 seconds. Therefore, it is strongly recommended to use a dedicated node service to improve the response time of the interface. The one used in this article is the node service of ZAN (https://zan.top/home/node-service?chInfo=ch_WZ), you can go to the ZAN node service console to get the corresponding RPC connection.
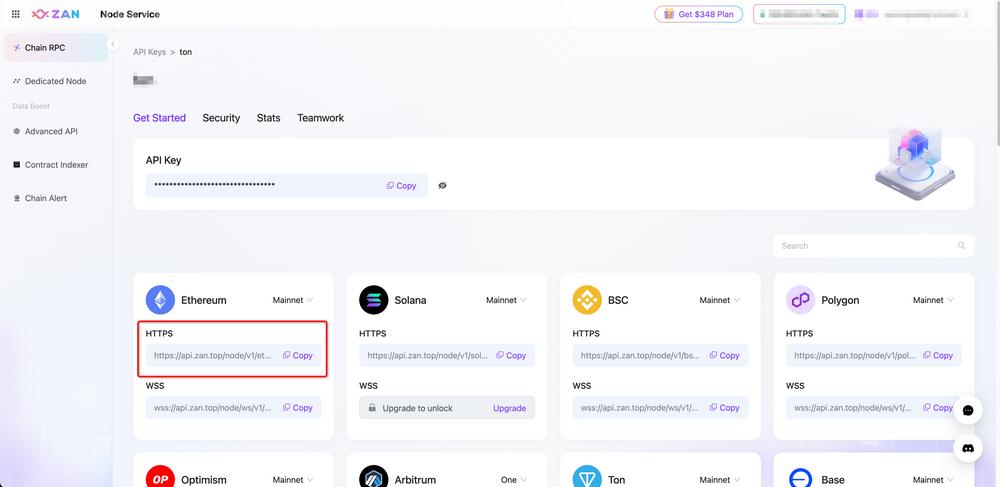
After obtaining the HTTPS RPC connection of the Ethereum mainnet, replace the default RPC of publicClient in the code:
const publicClient = createPublicClient({chain: mainnet,transport: http('https://api.zan.top/node/v1/eth/mainnet/xxxx'), //The RPC of the ZAN node service obtained});
After the replacement, the verification time can be significantly reduced, and the speed of the interface can be significantly improved.