In the world of cryptocurrency and blockchain, token snapshots are an extremely useful tool, especially for project teams, developers, or community administrators. They help you quickly capture information about the holders of a specific token on the blockchain, which can be used for airdrops, dividends, or other marketing campaigns. If you're a beginner and not yet familiar with blockchain tools, don't worry! This article will explain in detail how to use the token snapshot feature of the GTokenTool platform in the simplest and easiest-to-understand way.
Detailed steps for taking a token snapshot
Token snapshots are essentially a data scraping technique on the blockchain that records all addresses holding a particular token and their balances at a specific point in time. This is very common in DeFi (Decentralized Finance), NFT projects, or token issuances. For example, when a project conducts an airdrop, it needs to use snapshots to determine who is eligible to receive the rewards. The GTokenTool platform provides a convenient online tool that allows beginners to complete this process without writing code. Below, we'll break down each step, starting with the basic preparations.
Step 1: Understand the prerequisites
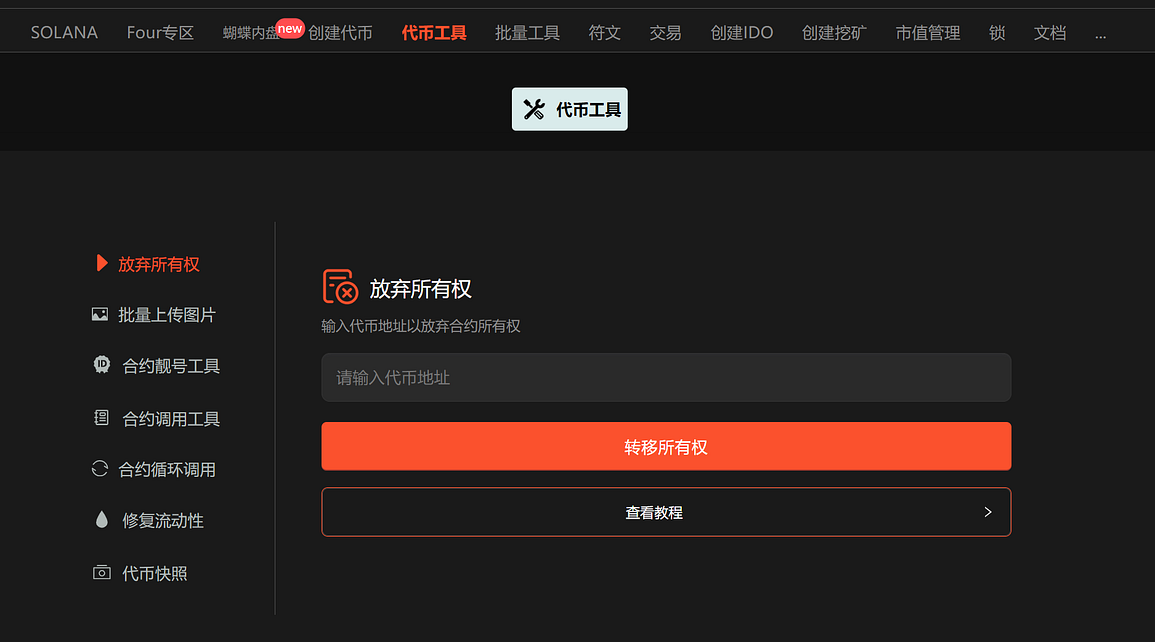
As a beginner, you'll first need a blockchain-enabled wallet, such as MetaMask or Trust Wallet. These wallets can connect to the Ethereum mainnet or other compatible chains. GTokenTool is a one-click token issuance tool platform focused on simplifying blockchain operations. Visit the official website ( https://gtokentool.com ), log in, navigate to the "Token Tools" section, and find the "Token Snapshots" page.
Press enter or click to view image in full size
Step 2: Connect to the mainnet
Once you're on the token snapshot page, the first thing to do is connect to the mainnet. There will be a "Network Node" selection box on the page; it might default to the testnet, but you need to switch to the "Main"mainnet. This is because the mainnet is the real blockchain environment and can access real token data.
Operating steps:
- Click the "Connect Wallet" button. A wallet authorization window will pop up; select your wallet (such as MetaMask).
- Confirm connection. If this is your first time, you may need to grant permissions.
- Select the "Main" network node. GTokenTool supports common chains such as the Ethereum mainnet (ETH) and BSC (Binance Smart Chain). Choose the chain that your token is on.
Frequently Asked Questions for Beginners: If the connection fails, check if your wallet is unlocked or if there is network congestion. Once the connection is successful, the page will display your wallet address, indicating that you are ready to proceed to the next step.
Press enter or click to view image in full size

Step 3: Enter the token address
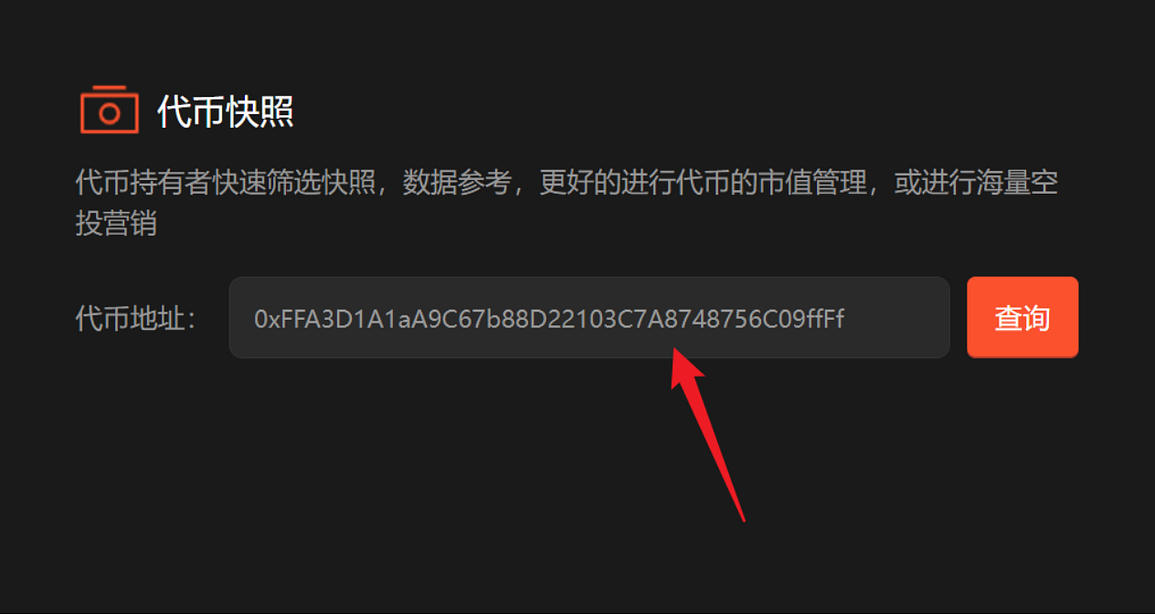
Now, enter the token contract address you want to snapshot. This is a crucial step. Token addresses are usually strings that start with "0x...", which you can obtain from Etherscan (https://etherscan.io) or the project's official website.
How do I find the token address?
- For popular tokens like USDT, you can find them by entering "USDT contract address" into a search engine.
- For custom tokens, project teams usually announce them in their white papers or on social media.
After entering the address, ensure it is correct. Tip for beginners: Avoid extra spaces when copying and pasting. Incorrect input will cause the search to fail.
Press enter or click to view image in full size
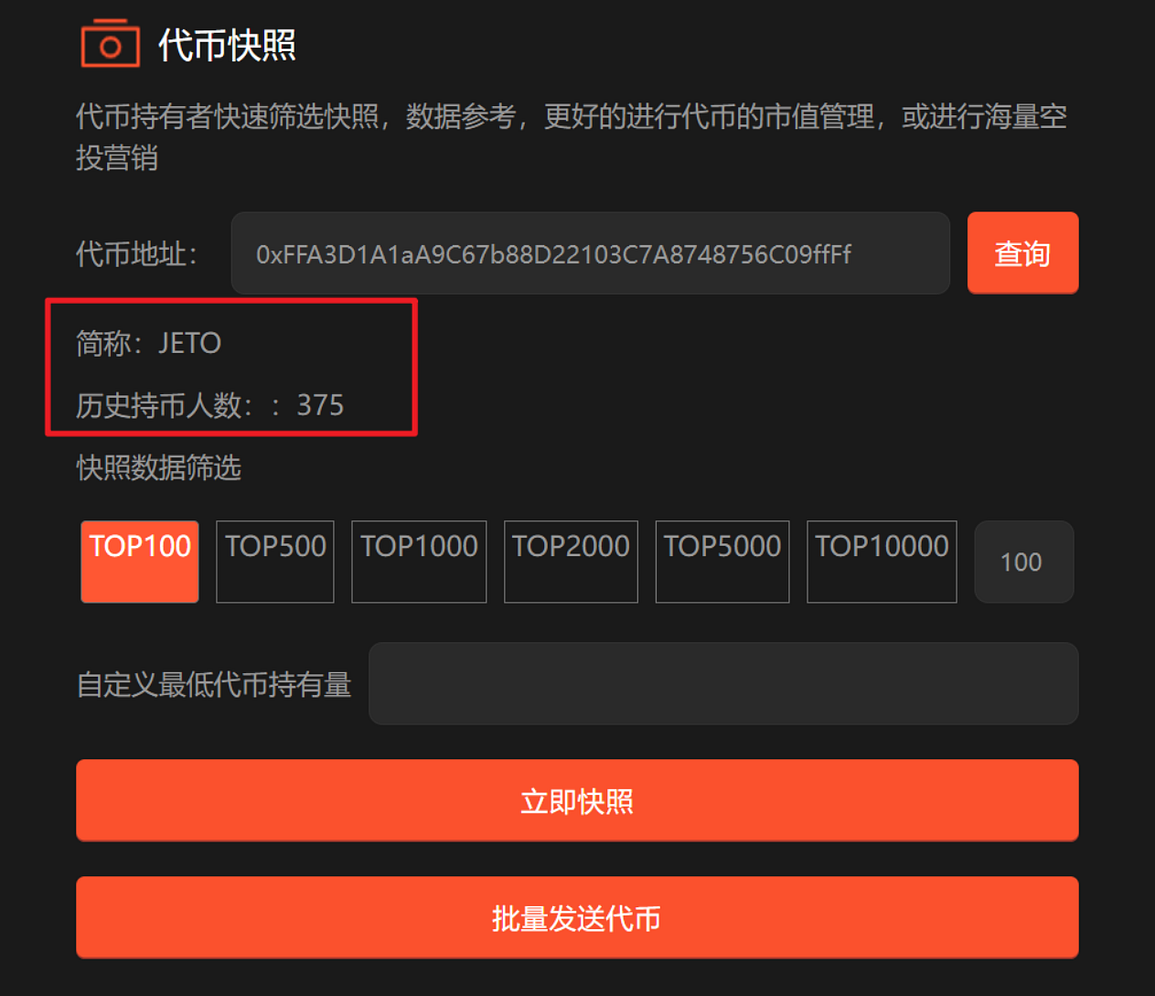
Step 4: Click "Search" and view basic information.
After clicking the "Query" button, the system will begin pulling data from the blockchain. This may take anywhere from a few seconds to a few minutes, depending on network speed and the number of token holders.
The query results will display:
- The abbreviation for a token (Symbol), such as "ETH" or "GT".
- Historical holders: This is an important metric, showing how many addresses hold the token. This helps you assess the token's popularity and community size.
For example, if a new token has only 100 historical holders, it may still be in its early stages; if it has more than 100,000, it indicates a strong community base. Newcomers can pause here to analyze this data to inform future decisions.
Press enter or click to view image in full size
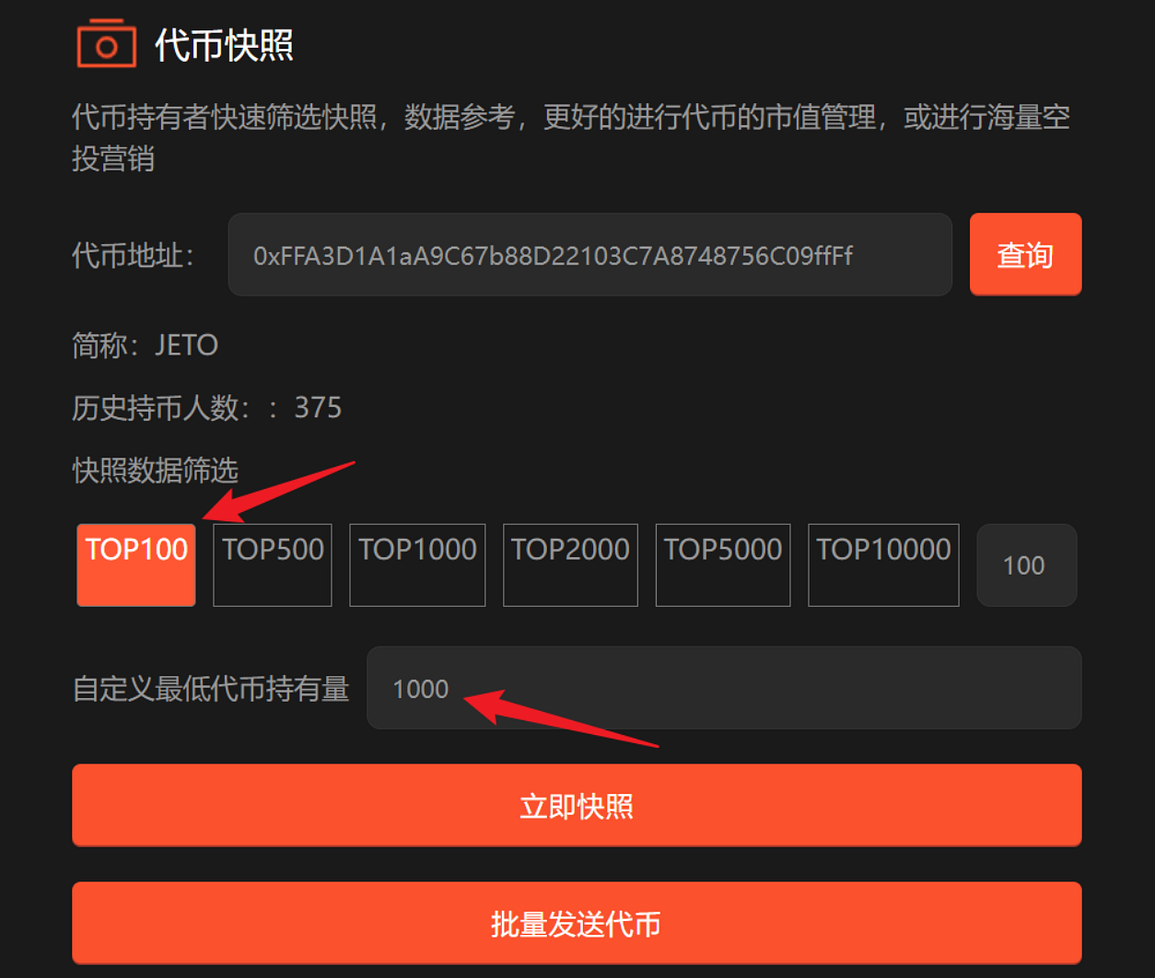
Step 5: Snapshot Data Filtering
This is the core part of the tutorial. After the query, you will see a data filtering interface. This allows you to customize the filter conditions to obtain more accurate snapshot data.
Common filter options:
- Balance threshold: Set a minimum holding amount, for example, only snapshot addresses holding more than 100 tokens. This excludes small holders and focuses on large holders.
- Time range: Select the start and end times for the snapshot. The default is the current time, but you can go back to historical data.
- Address type: Filter by regular address or contract address (smart contract).
- Other filters include excluding specific addresses (such as project wallets) or sorting by balance.
Tips for beginners: Start simple. Don't set any filters at first; just view all the data. Gradually add conditions, such as "balance > 1" to filter dust addresses (addresses holding very small amounts of tokens). After filtering, the page will update the preview data in real time. Make sure you are satisfied before continuing.
Why is filtering important? Blockchain data is massive; an unfiltered snapshot could contain tens of thousands of addresses, resulting in a very large download file. By filtering, you can focus on core users and improve efficiency.
Press enter or click to view image in full size
Step 6: Click "Snapshot Now" and download the file.
Once everything is ready, click the "Snapshot Now" button. The system will generate an Excel file containing the filtered data. The file typically includes columns such as: address, balance, and holding percentage.
Download process:
- Click the button and wait for the output to be generated.
- The file is automatically downloaded to your device, usually named "token_snapshot.xlsx".
- Open Excel and view: the first column is the address, the second column is the balance, and the third column may be a summary of the transaction history.
Note for beginners: If the download fails, check your browser permissions or network connection. The file is in CSV or XLSX format, which is convenient for importing into other tools such as Google Sheets for further analysis.
Step 7: Subsequent processing and application
Once the snapshot is complete, what can you do with this data?
- Airdrop: Distributing new tokens to these holders.
- Analysis: Calculate the concentration of holdings (Gini coefficient) to assess the health of the project.
- Marketing: Contact major clients for cooperation.
The entire process may only take 10–20 minutes for beginners. After a few tries, you'll find it's much more efficient than manually querying a blockchain explorer.
Summarize
This tutorial on using token snapshots comprehensively covers the knowledge needed for beginners, from an introduction and detailed steps to data comparison and Q&A. GTokenTool's token snapshot function is simple and efficient, allowing you to process blockchain data without a deep technical background. Remember, practice makes perfect: try taking a snapshot of a small token on the platform now, and you'll discover how useful it is. In the future, with the development of Web3, such tools will become increasingly important. If you have further questions, feel free to join the official Telegram group ( https://t.me/gtokentool ) for discussion.